with the wiring diagram (fig. 4). Make certain all
This section gives instructions on starting and stopping
connections are secure, make good contact, and have
the welding machine, basic motions of the welding
ample
clearance.
machine, and on co-ordinating the basic motions, to
(d) Attach supply ground wire to welder housing and
perform the specific tasks for which the equipment is
replace the top cover. This cover must be in place
designed. Since nearly every job presents a different
when operating the welding machine.
problem, the operator may have to vary given
(e) Check for proper direction of rotation on the initial
procedures to fit an individual job.
start as described below.
26. Starting
b. Starting.
a. Preparation for Starting.
(1) Push START button (fig. 7).
(1) Perform the necessary daily preventive
(2) On the initial start check the direction of rotation
maintenance services (para 36).
as indicated by the arrow on the name plate. If
(2) Connect welding machine to power supply as
rotation is incorrect, press STOP button, shut off
follows:
main power supply disconnect switch, and
(a) Approximate full load amperes, and
interchange any two line leads (fig. 4).
recommended fuse and power cable sizes
are listed in table 1.
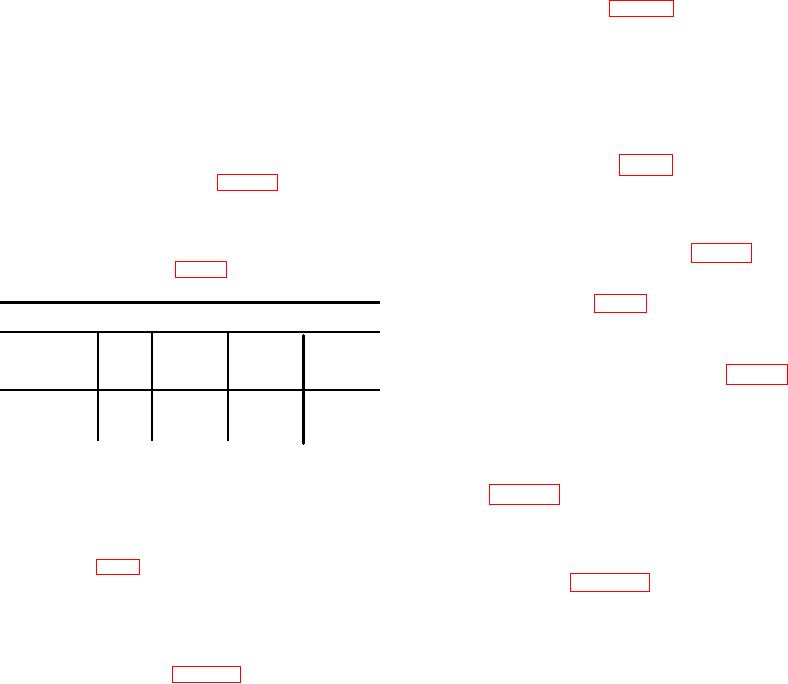
Table 1. Wiring Data
27. Stopping
Push STOP button (fig. 7) to stop welding machine
Three-phase, 60 cycle, ac
operation.
Input
Full load
Power lead
Min. Fuse
28. Operation Under Usual Conditions
Rating
voltage line amperes size B and S
size in
a. Connect electrode and ground cable (para 9).
amperes
b. Attach clamp of ground cable to work metal
making sure it is at a clean, paint and rust free spot for
300 Ampere
230
57.5
4
125
good
contact.
300 Ampere
460
28.8
8
75
c. Set reversing switch at "straight" or "reverse"
position and check the polarity of the electrode.
(b) A tag on the welding machine indicates the line
d. Set electrode selector for the size of electrode to
voltage for which the unit is connected at the
be used (para 21). If unusually high or low currents are
factory. Be sure it corresponds with the power
required for a particular electrode, it may be necessary
supply voltage to be used. If connection changes
to turn the electrode selector to the next higher or lower
are required, change motor leads and contactor
setting.
coil leads and jumpers as described in the wiring
e. Set rheostat current selector to the desired
diagram (fig. 4).
current in amperes (para 20). The remote rheostat
current selector controls the welding machine for remote
Warning: Make sure the main power supply
work.
disconnect switch is shut off before making any
Warning: Do not perform any welding operation
connections.
without a welder's helmet. The flash of the welding
arc can cause injury to the eyes.
(c) Remove the top cover (para 54), run power supply
f. The approximate current range for bare
leads through the hole in the back panel and
connect to the motor starter terminals in accordance
AGO 8244A
13

